
Yesterday I posted the Portrait retouching that we do and have available for our clients. I said at the end of that post that I would post examples of more advanced editing. So as I have some time today I thought I would go ahead and get that post up.
I enjoy working in Photoshop almost as much as I like taking the photograph! One thing I have learned though is if your not starting with a great base image your not really going to be able to go very far and you won’t be able to get away with very much if your trying to hide something.
There are two types of retouching (in my opinion), one to repair and one to enhance.
The retouching that is done to repair is done to try and make a photograph that has issues appear as if it doesn’t. Getting the exposure as close to dead on is one of the most important things in making for a great image. Sounds simple enough but in a mixed light setting if you are using flash, a slow shutter speed might let in too much ambient light. Even though the metering appears to be correct it isn’t.
The enhancing retouch is one that allows us to bring out the depth of an image, lets us create and build on the image that we see in our minds but the camera can’t possibly capture. It is art. There are some extremely creative artist out there that use a camera to express themselves rather than a paint brush, a pencil or charcoal or clay.
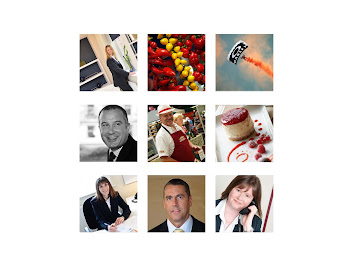
Here are just a few images I have worked on.
I hope you enjoy them!


A lot of photographers hold that an image is either meant to be in Color or in B&W not both. The way I like to get to the B&W is to work the color image until I am happy with it and then make the decision on converting it to B&W or leaving it in color. I feel like I get the most out of the image that way.


As always Thank You for Checking In
&
Have a great weekend!


No comments:
Post a Comment